Wednesday, November 16, 2011

Chest of Drawers Part 3: Drawers and Details

Now on to the drawers.


The tools used.


Cutting the tails.


When working with stock this thin, we chop the tails with a chisel.


Some of the completed sides


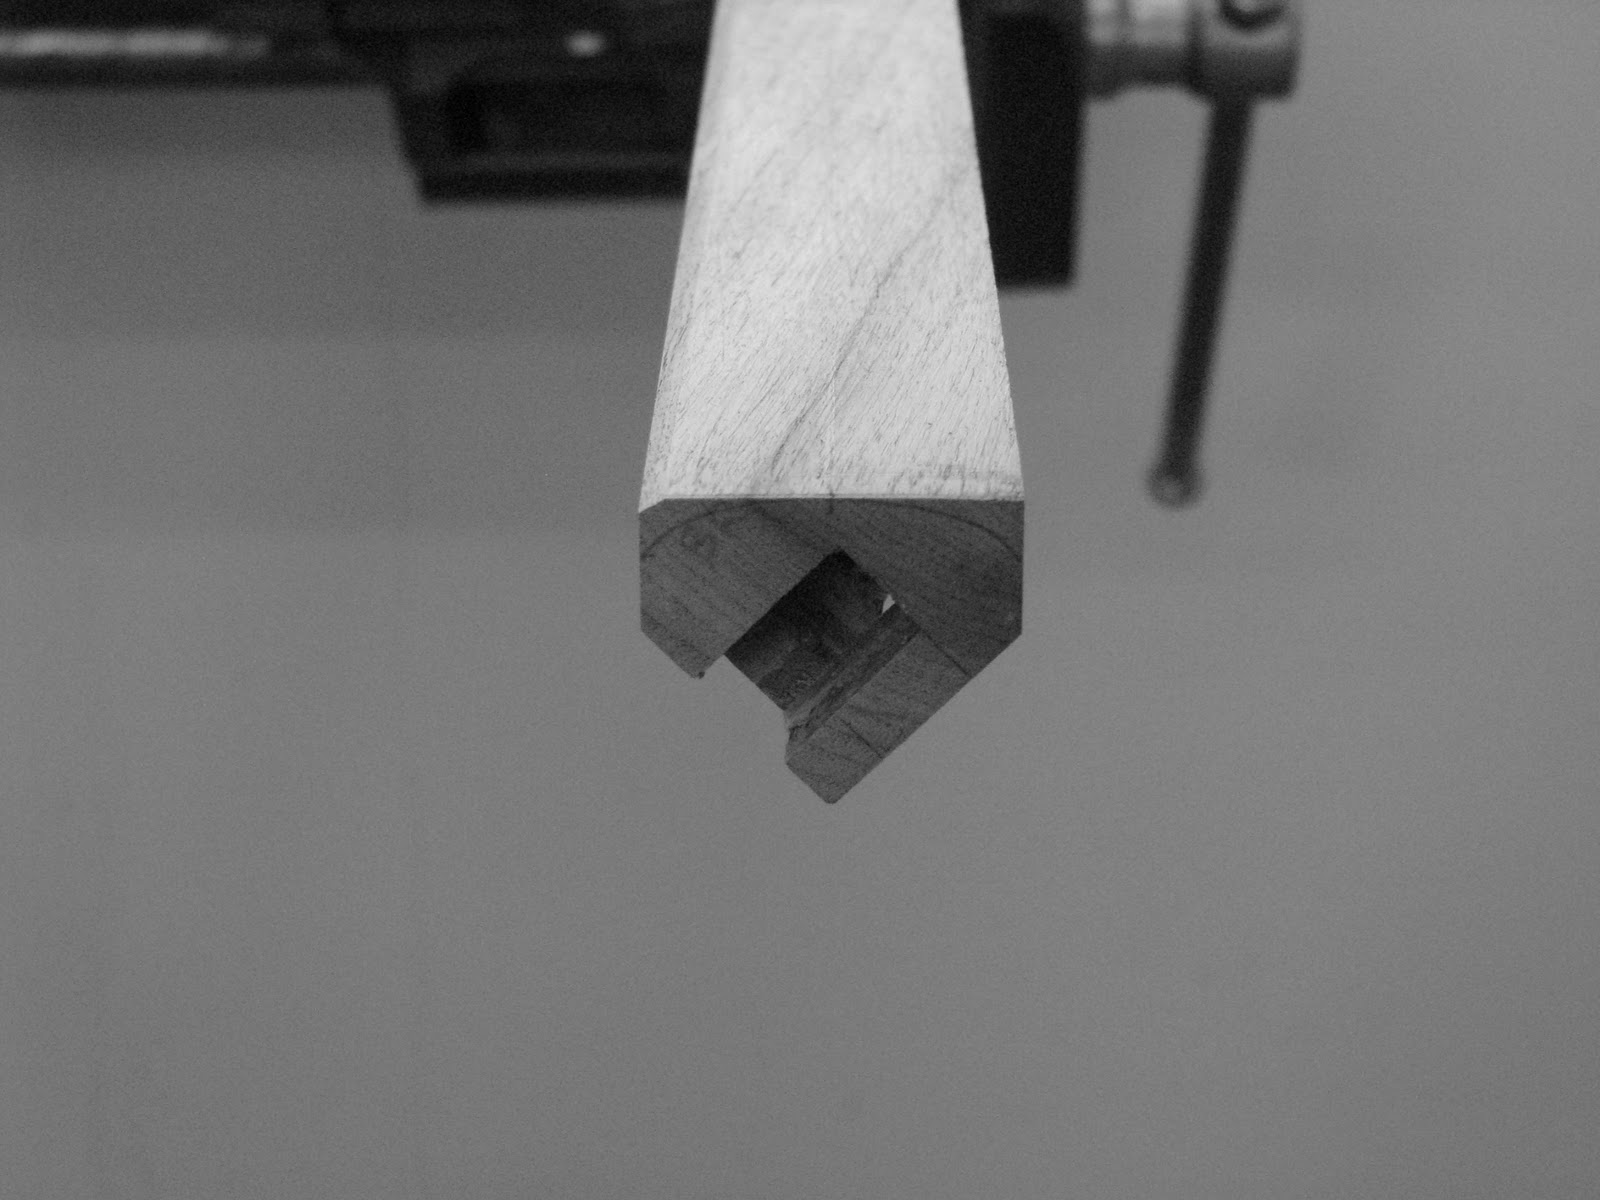
Chopping out the half blind dovetails for the front.


A neat fit.  Now for the backs.


Having the front of the drawer dry fit makes laying out the back pins easier


Laying out the back pins


Some of the drawers partially assembled


Now that the drawers are glued up the joints are hand planed flush.
This simple bench-hook with a supporting sawhorse underneath
 makes awkward clamping unnecessary.


We didn't have to use any sand-paper on this piece... it is all blade finished.


The drawers are fit by handplane using the same bench-hook set up.


Ian turned the knobs.  (He always gets the easy jobs.)


Next up.... the top, details, and finishing.

Friday, November 11, 2011

Chest of Drawers Part 2: Roughing Out

May as well jump right into the WIP photos for the chest of drawers we are currently working on...


All of this is 1" thick walnut except for the board on the right, which is the 2" leg stock.


These boards have been laid out for the drawer fronts.
The grain will run seamlessly across the front of the piece.


The rough cut drawer fronts.

Keeping the drawer grain flowing across the fronts of the drawers is the kind of thing that woodworkers appreciate and no one else notices... until you point it out to them, and then they can't not notice it from that point onward.


The side panel stock before it is cut and resawn. A single board will be cut and
"slip matched" (rotated as the arrows indicate) to maintain harmonious grain across the panel. 


The rough panel before being resawn


The resawn halves. Now the grain will match on both sides


The glued up side panels.

    Now that the panels are constructed, onto the legs....


Because the legs are angled outward at 45 degrees we built this 45 degree
sled to simplify cutting the mortices. The protrusions from the sled are for clamping
the sled to fences for machining.


Here the legs are being morticed by our vertical morticer.


Here are the legs with 45 degree shoulders cut into them along with the mortices.


The 45 degree shoulders were cut on the tablesaw and then
finished with a handsaw.  Now to shape the outside sides.


Ian uses a spokeshave to shape the outsides of the legs.


If you look closely at this picture you can see the line Ian
sketched onto the leg blank to cut to.


The spokeshave and block plane are the only tools used
to cut away the waste from the blank. We did not use any sandpaper on this whole piece.


The final profile of the bottom of the leg.


The facet is cut with a very sharp chisel.


The small facets will remain from the tool. It would be a shame to sand this
curve smooth, the facets should remain as a testament to the skill of the craftsman.


It is starting to come together. The panels will be added to the piece when
they are out of clamps.


Friday, November 4, 2011

Chest of Drawers Part 1: Mock-Up

    As my brother have stated before, we design our furniture primarily in the physical world through the process of building mock-ups.  We start with a very rough mock-up of the furniture form we are working on. In the case of the chest of drawers it began as a box, roughly the size we wanted, tacked together out of very thin plywood. Then we refine and re-mock the form by trying different leg treatments, different drawer arrangements, different knobs, etc... until we arrive at the form we feel fits the mood of the piece we were looking to build. We prefer this method because it is direct. When building in this way we are able to understand the volume and proportions of our furniture at human scale. How the volume of our chest of drawers feels, the feel of how a knob fits the hand, the direct experience of furniture is what differentiates it from fine art sculpture. You are meant to touch. Gauging the "feel" of something is impossible within the white plastic realm of 3D modeling or on the flat page of a sketchbook.


 Here is a series of pictures of our mock-ups for the chest of drawers we're currently working on...


In the first picture you can see the basic rectangular volume we have settled on with a few different leg options. The second picture is Ian determining the size and placement of a side rail. By composing in material there is less guesswork and more handwork.


The top left photo is the (rough) top treatment along and the top right photo is a possible drawer arrangement sketched onto brown paper that has been stretched over the face of the chest.  This drawer arrangement is an arrangement I designed some time ago, and I am glad we are finally going to be able to see and feel it in action. I will post more about this drawer arrangement later.


Here are three different leg options we toyed with (note the two different ones in the picture on the left,) I think we mocked-up roughly eight different leg options by the end of the design process. The mocked-up legs are simply made out of trued 2x4s that had been cut in half, shaped in a variety of ways and then screwed into the sides of the mock up. Building the actual mock up took no time at all, fine tuning our design decisions and preparing to buy the wood was a good day or two of work.

    Because this chest of drawers is  something we are building as a kind of "stock" piece of furniture that will be able to recreate on demand at a modest price, we are keeping everything very straightforward. The next chest of drawers build will be a one-of-a-kind piece of furniture with a much more involved and challenging design/construction process.

Saturday, October 22, 2011

Sweeping up and looking forward.


    Whenever my brother and I finish a project, we like to take a day or so to clean the shop and 
consider our next project. This is one of my favorite times in the shop. As we sharpen our tools or maybe build some shop infrastructure like a sawhorse or shelving, we weigh our options. This act of organizing your thoughts, touching up your tools, and cleaning your workplace puts any craftsperson into a different mindset. Simply being in contact with the tools and the raw material of your craft has an inspirational aspect to it. Things seem very possible in this moment. Ideas become expansive, the cleaning and organizing becomes meditative, and many complex difficult things seem attainable, even simple. I imagine this ritual of preparation may be universal among crafts. And even outside of the craft world it is easy to discern the ritualistic acts that mark the beginnings (and ends) of many human endeavors: whether it is the saying of grace before a meal or checking to make sure your emergency brake is off and that you can see out of your rear view mirror before you drive somewhere--habitual, ritualistic actions guide people (knowingly or unknowingly) throughout their lives. My brother and I begin our craft by cleaning the shop, sharpening the tools, while we talk of the good work to be done next.

   So what are we doing next? We have decided on a chest of drawers for the next furniture form to explore. This is exciting for me because despite it being one of my favorite furniture forms, my brother and I have never made one from our own designs.

   We will be doing two things differently with this upcoming project. As I stated in an earlier post we will be posting work-in-progress (WIP) updates from now on. These won’t be step-by-step “DIY instructions.” Just a loose smattering of pictures of the project at various stages of construction with a few sentences of explanation.

   The second difference is that we will be making two chests of drawers, one after the other. The first chest of drawers we plan on making will be meant for someone who would like to own something finely made but not overly complicated. It will be like a good loaf of bread, wholesome, basic, beautiful, accessible, even… democratic? It will be the sort of furniture that IKEA furniture is meant to be, but in every way isn’t. The second chest of drawers we make will be more like a fine pastry wrapped around something delicious, glazed, and then sprinkled with toasted almonds. It will also be fine and well made, and it will be elegant and decadent in the best sense of the word. It will be much more exhausting for us to build then the first chest.  The simpler piece we will able to roughly recreate on demand at a set price for anyone who would like to own something fine and simple, while the more complicated piece must remain a one of a kind.

    After these two chests of drawers we will continue doing other common furniture forms in this way, documenting each pair as they progress. 


   We will catalog our progress with each of these pieces. And we have already begun the simpler chest of drawers, in fact I am dovetailing the drawers today. Expect to see photos up soon.